Creating a property library and material |

|

|

|
|
Creating a property library and material |
|
|

|
Creating a property library and material |
|
|
|
|
Creating a property library and material |
|
|
|
|
|
||
|
Creating a Property Library and Material
|
|
This topic demonstrates how to create a property library, how to add a material to it, and how to assign it using SilverScreen. This is the easiest method for creating materials because you get visual feedback while honing the options.
To begin, you would run SilverScreen and load a typical drawing for the material. This could be an important consideration because you will want to be sure the material looks good in the environment in which it will be used. Many things impact rendering properties in particular, including viewing angles and the number of lights in the scene, not to mention texture size and the decal mode.
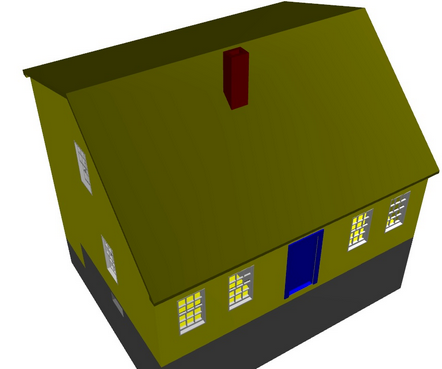
In this example, we are going to use a drawing of a cape and make a material for the roofing tiles. The initial drawing looks like this:
Original Cape drawing
|
|
|
Creating the material and library
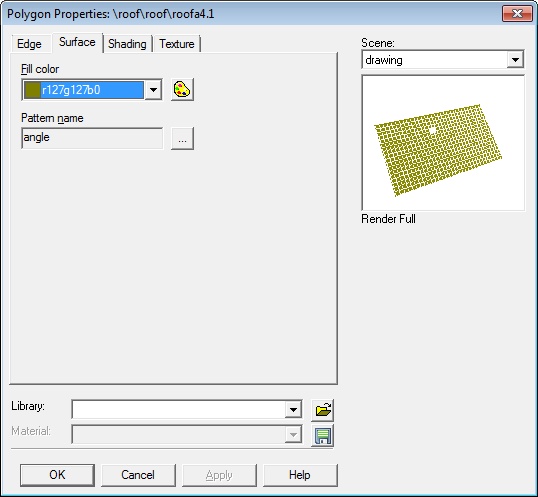
After loading a drawing, you will want to use the property editor with an appropriate entity or primitive. In this example we will develop a material for the top-facing polygon of the roof. Begin by choosing "Edit > Properties > Polygon", then by selecting the roof polygon. Afterward the property dialog editor will appear (which looks like the following):
Property dialog for roof polygon
In the property dialog the major categories of appearance properties are organized into tabs, and only tabs applicable to the current selection appear. The edge properties control line colors, widths, and styles. The surface tab controls fill color and pattern. The shading tab controls rendering properties, and the texture tab controls how textures are applied to the surface.
After you make the appearance property changes you desire, you can save all of them as a material in a property library. You may also create new property libraries.
If you wish to work with an existing library you choose it from the list, or use the open icon to locate and open it.
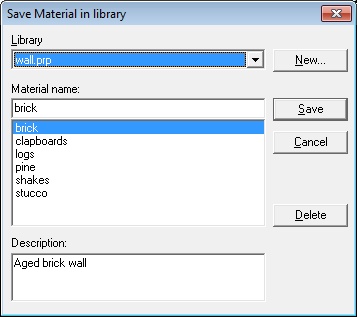
If you wish to create a new property library you choose the save icon, which opens the "Save Material in Library" dialog. It looks like this:
Material Save Dialog
To add a material to an existing property library you would select it from the "Library" list, then type in a material name and description and choose Save. To create a new library you would choose New, and provide the file name and location.
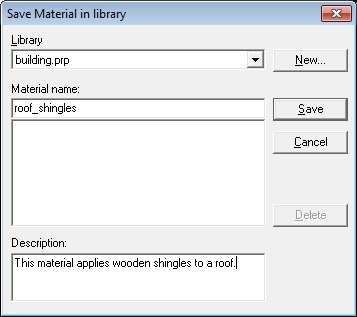
If you create a library called building, and then add a material to it called "roof_shingles" it will look like this:
Roof shingles material in editor
Once you have taken these steps, the material will be available to the property editor and all of the properties associated with the material "roof_shingles" may be applied in one step.
|
|
|
Assigning the material
The following shows the newly created material selected from the "building" property library, in preparation for assigning it to the other polygon making up the rest of the roof from our example above. Notice that "building.prp" is selected as the Library at the bottom of the properties dialog. Notice that "roof_shingles" is selected as the Material below it.
Loading material "roof" from property library "building"
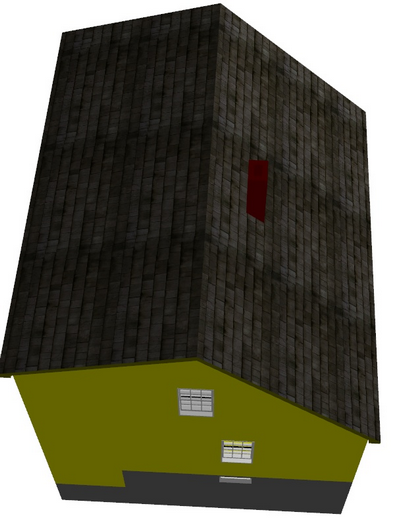
If you now press OK or Apply the properties associated with the material will be assigned to the selected polygon. When finished, both roof polygons will have the same appearance. Here is the finished drawing:
Finished roof
Property libraries are worth familiarizing yourself with if you are a developer. They facilitate ease-of-use for your application without a loss of functionality, and make it easy to generate a consistent appearance across your application's drawings. You may also find that if you use a careful naming scheme that you can provide different libraries with different styles to suit regional preferences or even whim.
|
|
|
|
||
|
||
|